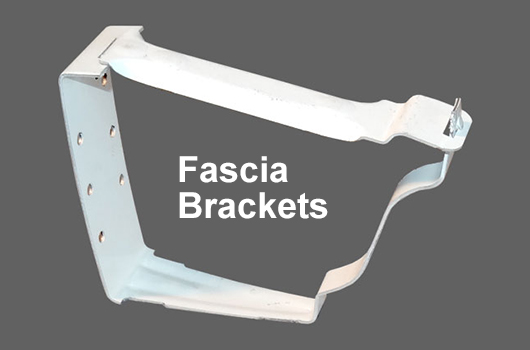
Internal Gutter Fixings

Installing Gutter Brackets Youtube

Welded Drain 2c Jpg 1020 911
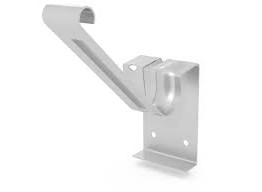
Square Gutter Internal Bracket Roofit Online

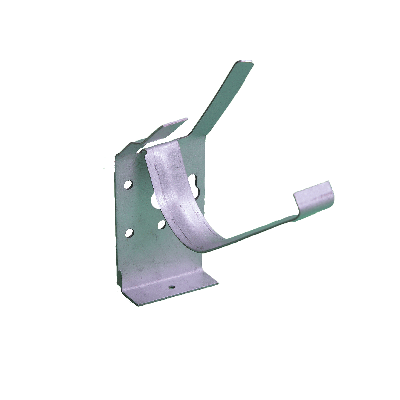
Gutter Straps Dunnings

Gutter Fixing Info On Fixing Those Gutters Kents Direct Uk

Internal External Gutters Branz Weathertight Rain Gutters Rain Diverter Gutters
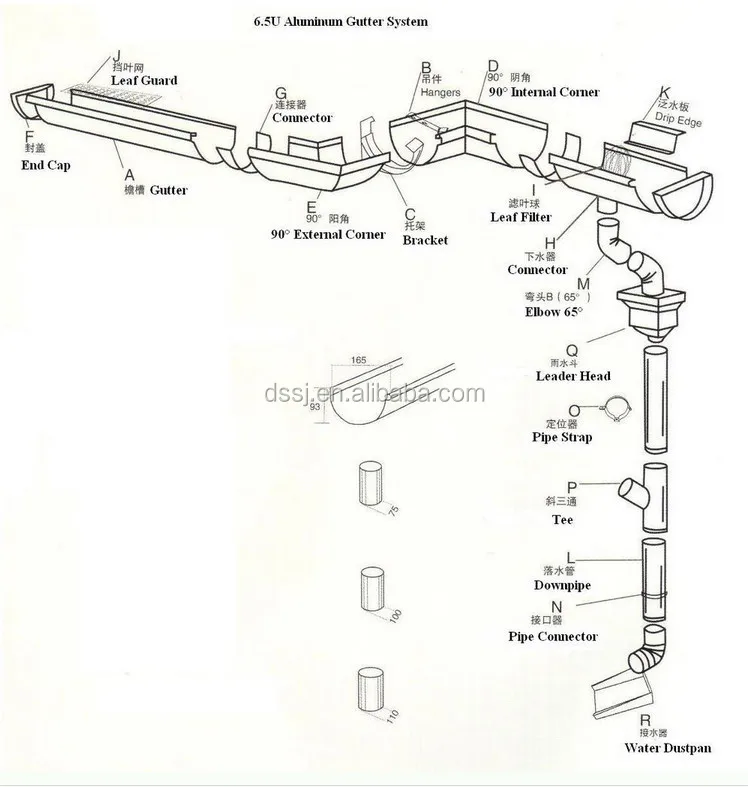
Internal gutters also known as box gutters are seen as an easy solution to the collection and disposal of roof water.
Internal gutter fixings.
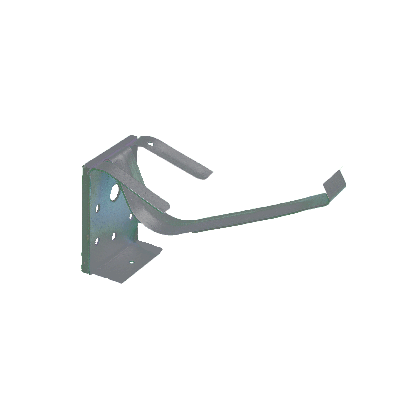
Internal Gutter Brackets For Quad 150 Big Slot Gutter Pantex Roofing
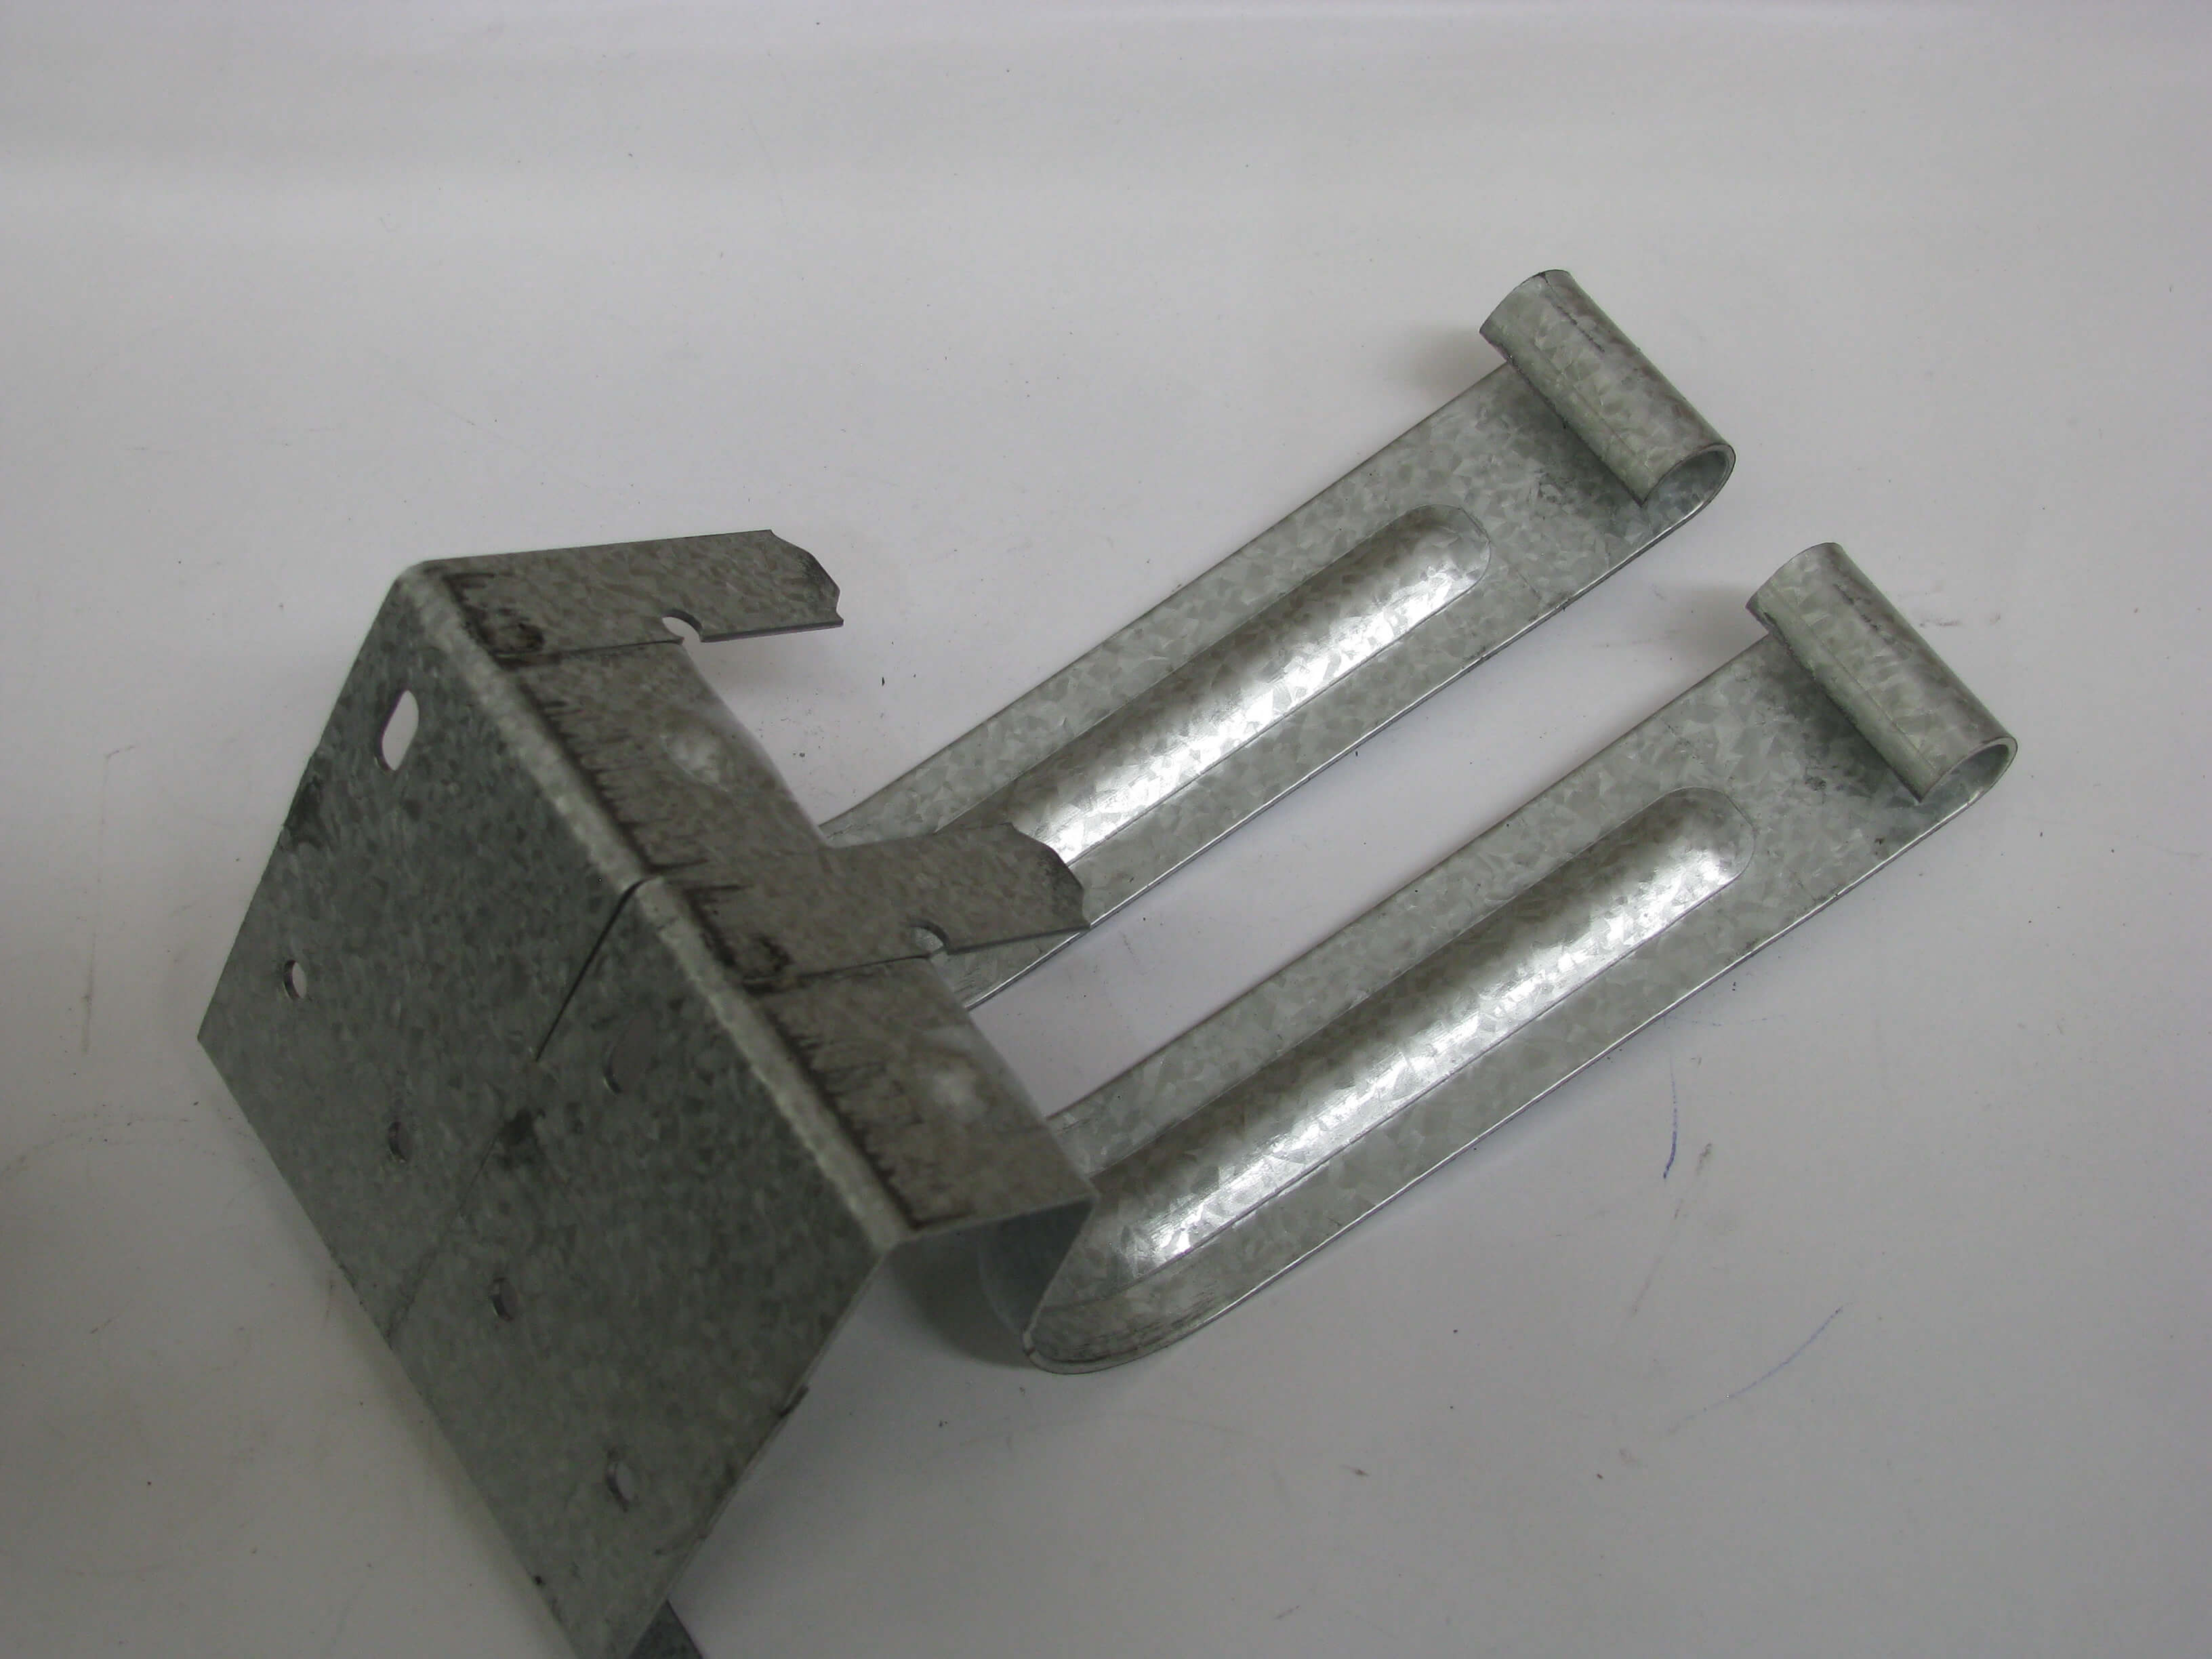
Six Inch Commercial Box Gutter Hanger 14 Gauge Roof Mount Strap
Internal Gutter Brackets For Quad 150 Low Front Gutter Roofing

Image Result For Internal Gutter Details Gutter Design Details Design

Ogee Gutter All Your Steel Solutions Under One Roof Steeline Australia

Guttering Repair Guide Drains Gutter
Internal Gutter Brackets For Quad 130 High Front Pantex Roofing

Kahu Residential Roofing Rrka Detail List Pdf Free Download

10 00 Installation Procedures Details Hunter Rainwater Systems Manualzz
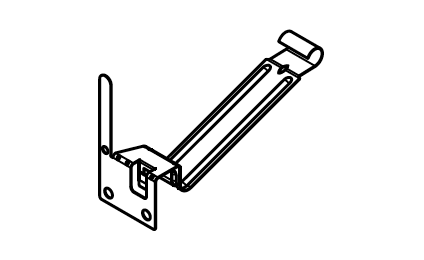
Squareline Gutter Internal Bracket Gk Online Roofing
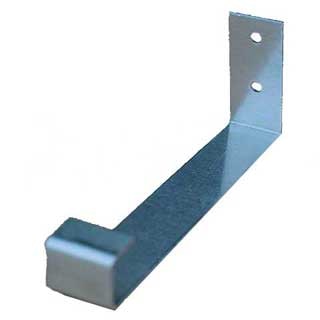
Bracket Half Round Flat Back Gutter Metal Roofing Online
Fascia Gutter Supplies Accessories Robot Building Supplies
Quad Gutter 175mm Width Colour Gull Grey
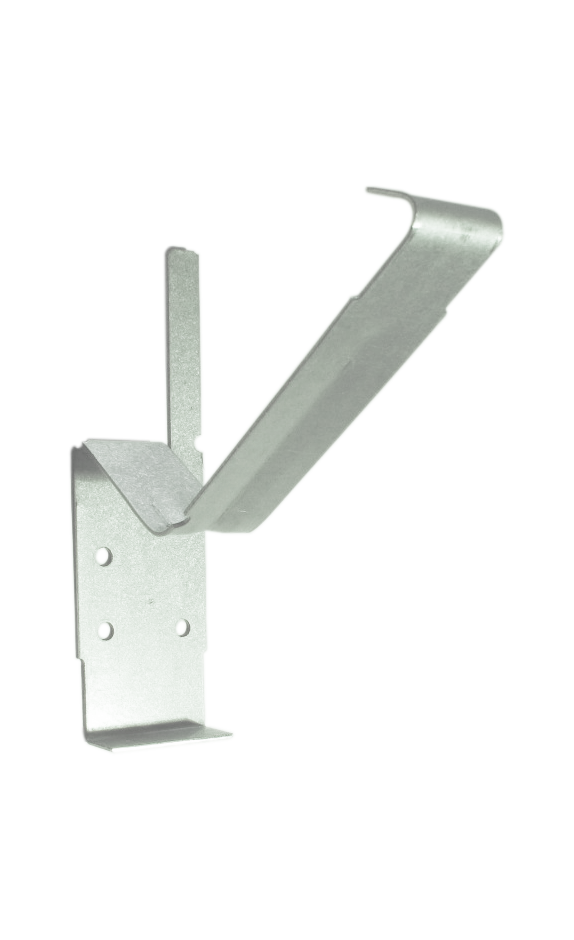
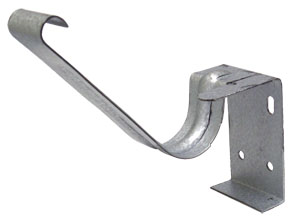
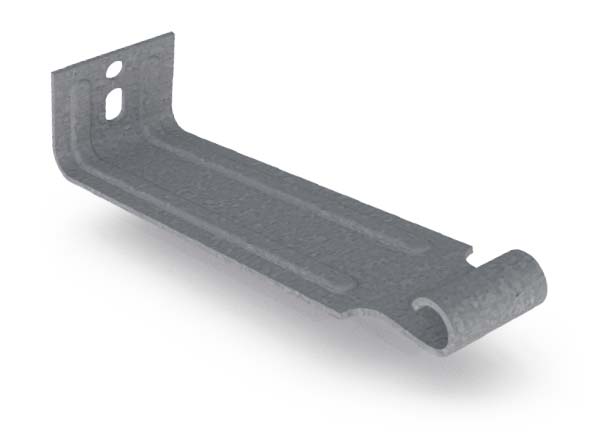
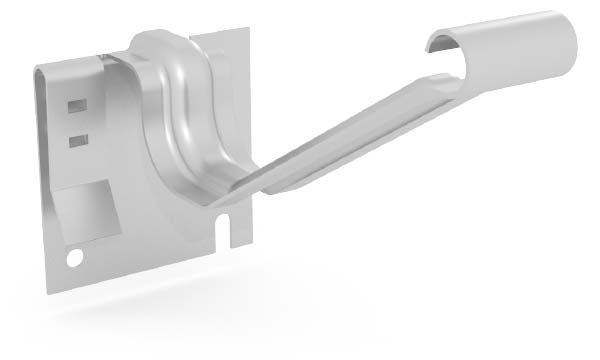
Feature Gutter Bracket Internal Zincalume True Blue Roofing
Roofing Products Hidden Gutter Hangers Raytec Manufacturing Llc
Aluminium Gutter Bracket Gutter Single Side Bracket Half Round Gutter View Half Round Aluminum Gutter Ds Product Details From Hebei Dingsu Plastic Sales Co Ltd On Alibaba Com
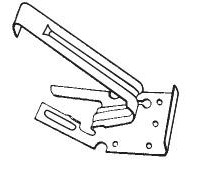
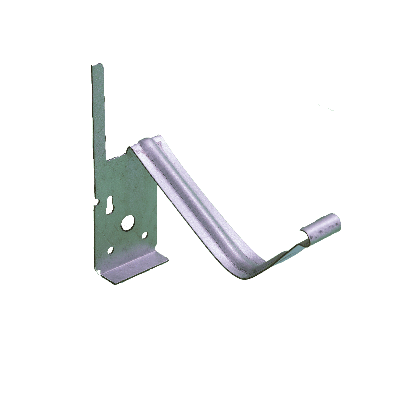
Og Gutter Bracket Internal Zincalume True Blue Roofing

Ventilated Hidden Eaves Box Gutter Detail In Zinc Sig Zinc Copper 1000 In 2020 Box Gutter Zinc Roof Gutter
Https Encrypted Tbn0 Gstatic Com Images Q Tbn 3aand9gcr8cje8o5tfgtqlqtcwfgqlhpnaww6henoxof8pydridgm0ttea Usqp Cau

Issues And Repairs Branz Maintaining My Home
Og Gutter 125 Merino

Eurocell Roof Components Double R Glass Roofing Ltd Glass Roof Roof

Gutter Accessories For Sale Ebay

Upvc Gutter Internal Bracket White
Source : pinterest.com
