How To Hang A Small Crate On The Wall

Pin By Julie Eckert On Diy Projects 2 Create For Decor Bathroom Organization Diy Diy Bathroom Storage Crate Shelves

21 Cheap Ways To Make Your Bathroom Feel Like A Freakin Palace Diy Furniture Shelves Diy Home Decor

Bookshelves Stain Unfinished Wooden Crates And Hang On Alternate Walls In A Corner Floor To Ceiling Storage In An Unused N Bookshelves Diy Home Decor Home Diy

Small Wooden Crate Hanging Shelf Wall Fixture Shelves For Spice Rack Bathroom Decor Kitchen Bedroom On Et Small Wooden Crates Hanging Shelves Wooden Crate

Diy Storage Shelf From Plastic Crates Prateleiras De Armazenamento Armazenamento De Animais De Pelucia Diy Armazenamento

Easy Storage Ideas Simple Storage Plastic Crates Milk Crates
Find another stud across from the first one.
How to hang a small crate on the wall.

The Design Chaser Interior Styling Indoor Plants Decor Jewelry Rack Home Diy

Knagglig Wall Shelving Ikea Boxes Ikea Crates Wall Shelves

Little Crates Diy Furniture Plans Bathroom Wall Decor Crate Shelves

Hang Crate Boxes Decorate With Vegetation Wine Crate Eclectic Living Room Crate Shelves

Copy This Home S Genius Styling Tricks Kid Room Decor Home Wall Storage

Pin By Crystal Cloyd On Things I Like Wooden Crate Home Diy Wooden Crates

Small Wooden Crate Wall Hanging Shelves Small Wooden Crates Wooden Crate Shelves Shelves

31 Amazing Wood Crate Projects That Range From Decor To Storage And More Diy Bathroom Home Diy Home Projects

Turn A Wooden Box Into A Modern Hanging Shelf Diy Hanging Shelves College Apartment Decor Diy Wall Shelves

Small Bedroom Storage Hacks Clever Storage Ideas For Small Bedrooms Decluttering Your Life Small Bedroom Storage Storage Hacks Bedroom Diy Pallet Furniture

7 Ways To Fill Up Your Walls Crates On Wall Decor Home Diy

Beach Shelves Bathroom Storage Beach Crate Shelf Beach Etsy Beach Themed Bedroom Beach Theme Bathroom Shabby Chic Beach

Brown Wooden Crate Hanging Shelf Wall Mount Fixture By Cldecor 35 00 Milk Crate Furniture Small Wooden Crates Wooden Crate

Diy Reused Recycled Repurposed Rethinked Reclaimed Interior Design Apartment Small Boy Bedroom Design Teenager Bedroom Boy

Hang Anything On Your Wall With A French Cleat Storage System French Cleat Storage Wall Storage Systems Wall Storage Shelves

Our New Hanging Wooden Herb Boxes Driven By Decor Driven By Decor Decor Herb Boxes

Stow Your Stuff In Convenient Crates Crates On Wall Crate Storage Milk Crates

Sale Small Wooden Crate Hanging Shelf Wall Fixture By Cldecor 30 00 Small Wooden Crates Wooden Crates Wooden Crate
3

Diy Wall Shelves How To Make Hanging Storage For An Organized Bathroom Tutorial Diy Bathroom Decor Bathroom Decor Diy Bathroom
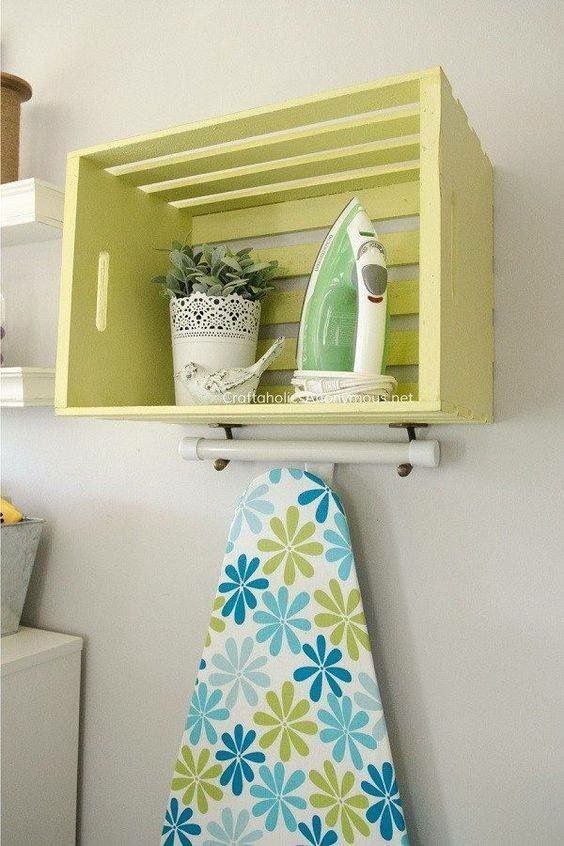
Hanger For Ironing Board Box To Hold Iron And Hang Ironing Biard Laundry Room Decor Laundry Room Makeover Room Storage Diy

Sale Small Wooden Crate Hanging Shelf Wall Fixture By Cldecor 39 00 Small Wooden Crates Hanging Shelves Shelves

Create A Diy Rope And Crate Shelf Pinkwhen Crate Shelves Diy Wood Crate Shelves Crate Shelves

13 Brilliant Diy Organization Hacks Home Projects Home Diy Home Organization
Source : pinterest.com
